Bootstrap your Home Server with Kubernetes and Flux
This post is the first in a series which will show you how to install and configure Kubernetes using MicroK8s on your home server using Ansible. We’ll be using Flux for managing app deployments and cluster configuration.
By the end of the series we’ll have installed a publicly accessible Minecraft server and PiHole. Prometheus, Grafana and Loki for observability; and have alerting in place to notify us when something is going wrong.
This is a great way to get hands-on experience with Kubernetes, DevOps, and CI/CD best practices like GitOps.
|
No home server? No problem! We’ll include creating a VM on MacOS that we can use instead. |
(Optional) Creating a VM
|
If you already have a server, then skip to the next section. |
Provision the VM
Let’s download an OS for our VM. We’ll use Ubuntu Server 24.04. If you’re on an M-series Mac (Apple silicon), you can download the ARM version here, else you can download the AMD version here.
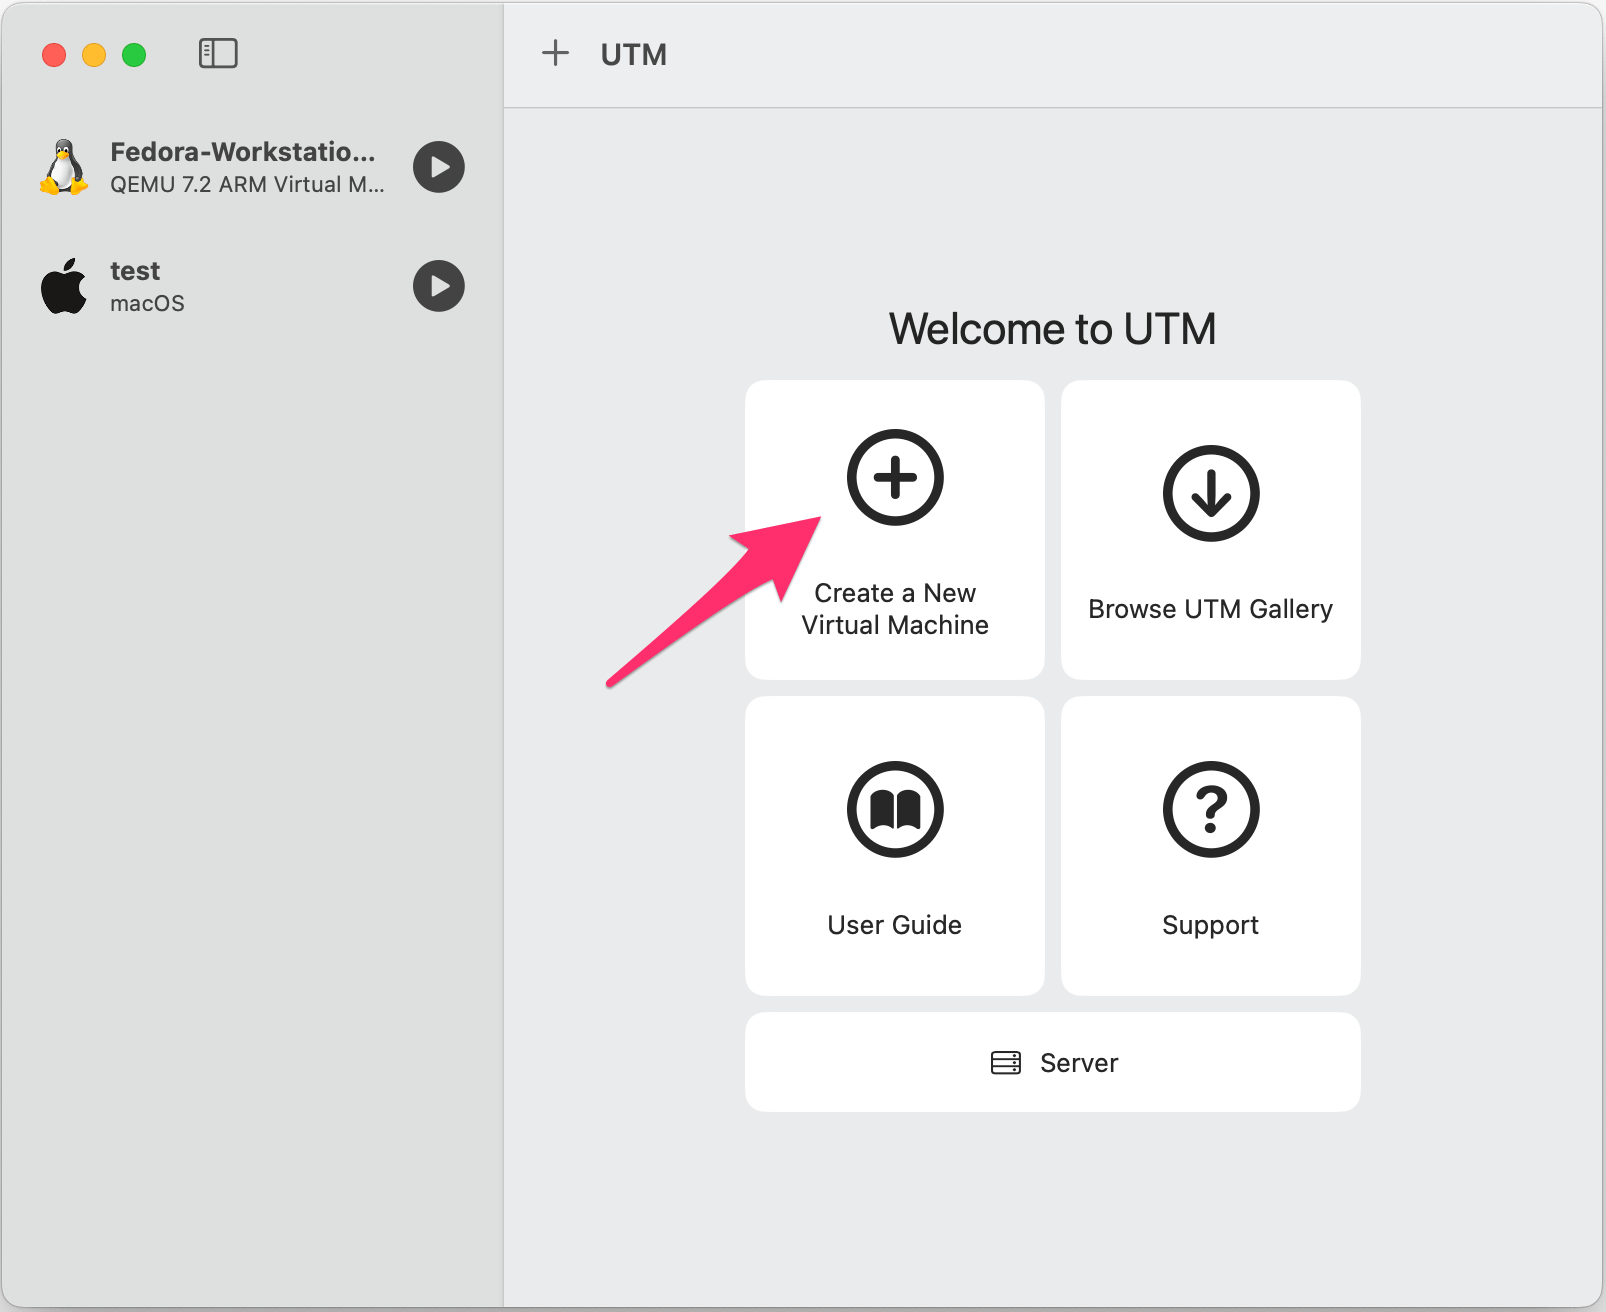
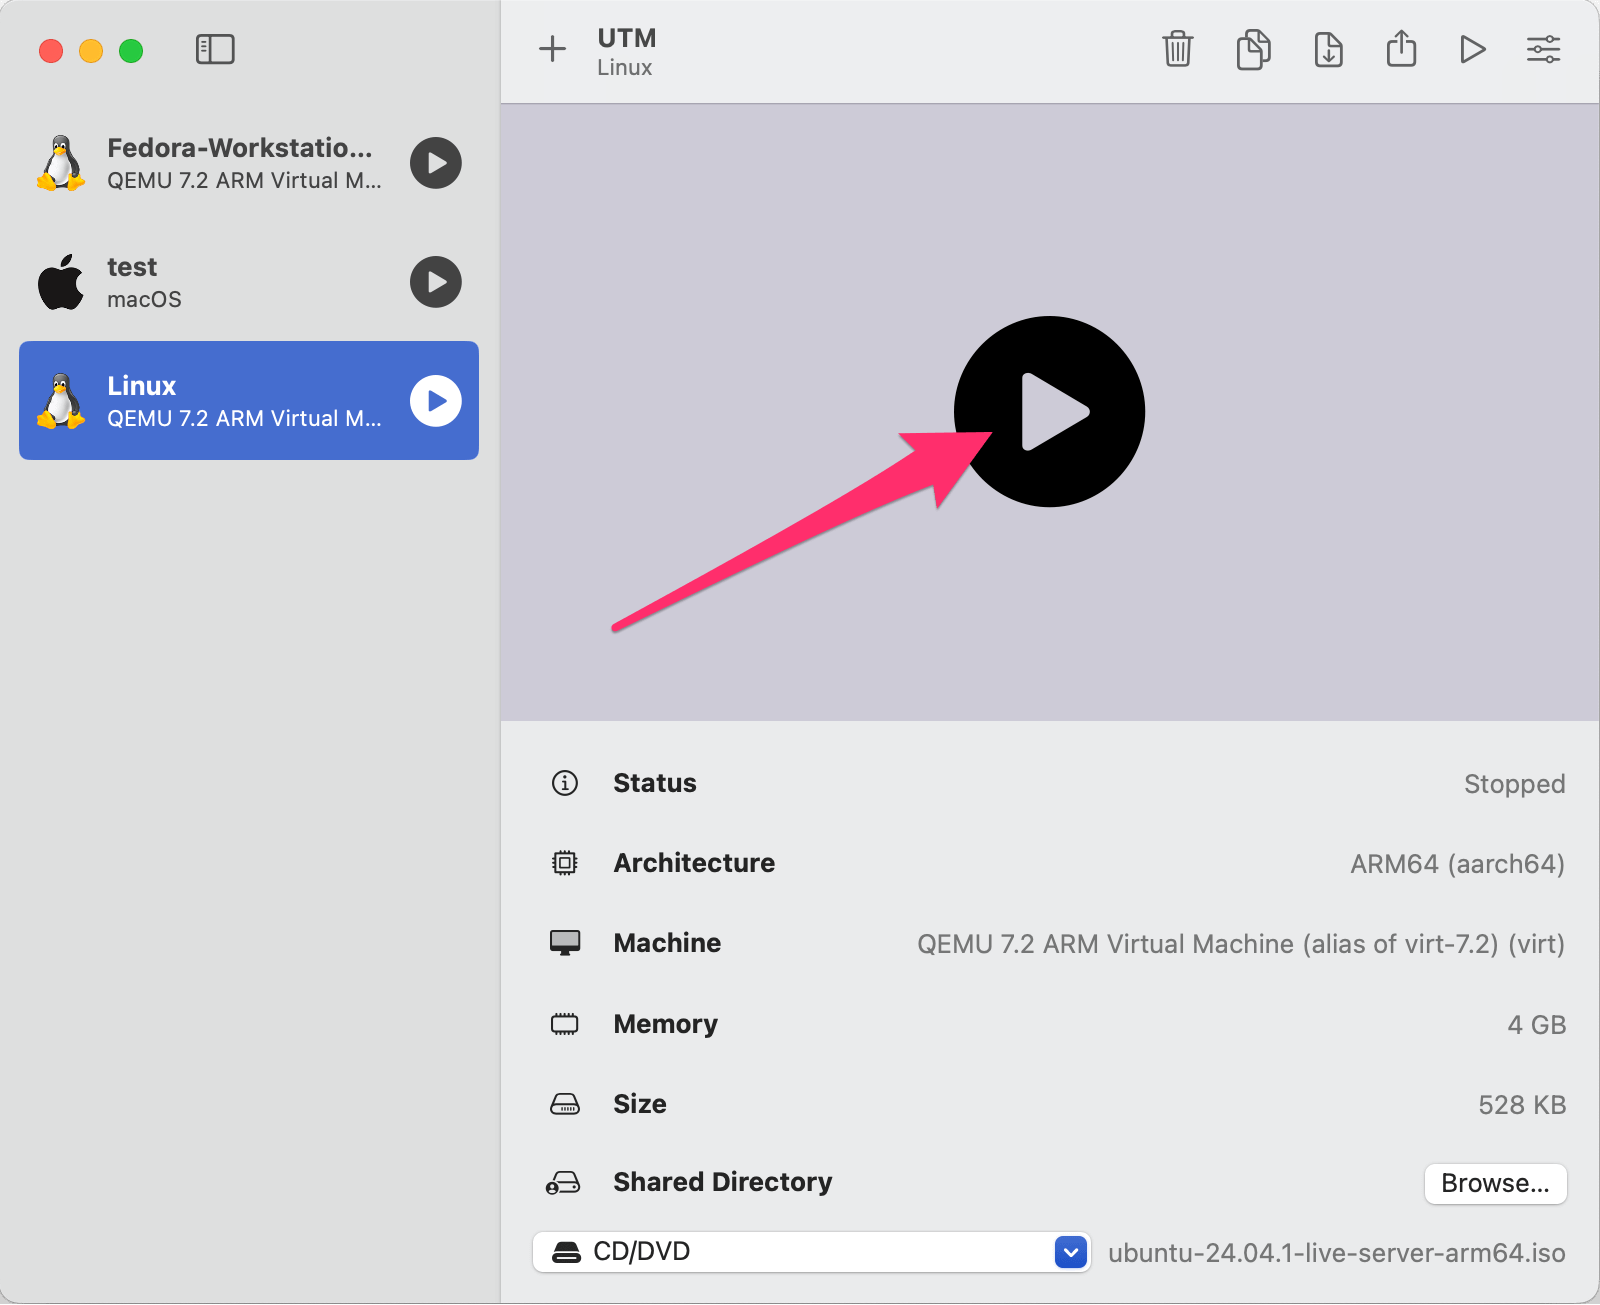
We’ll use UTM for creating a VM because it’s straightforward and easy to use:
brew install utmLaunch UTM and you’ll be presented with this window:
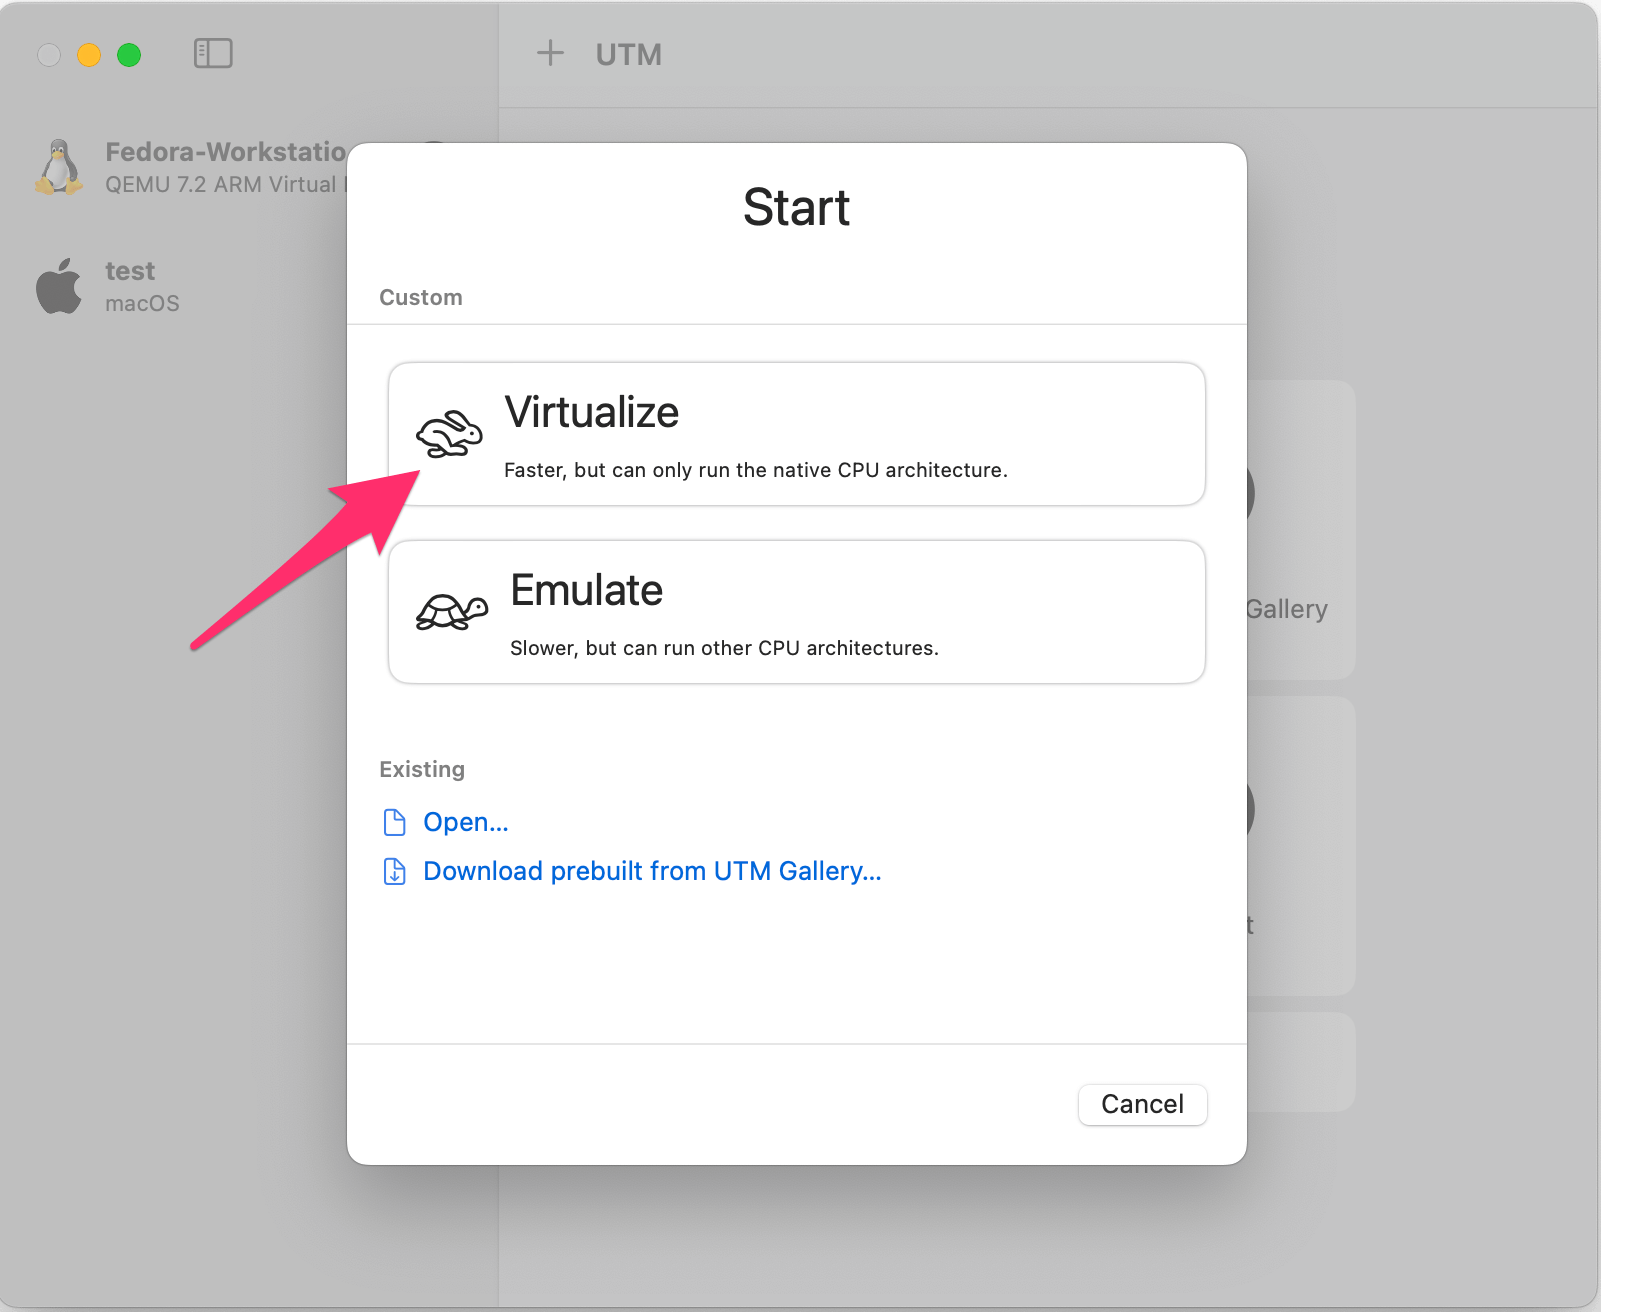
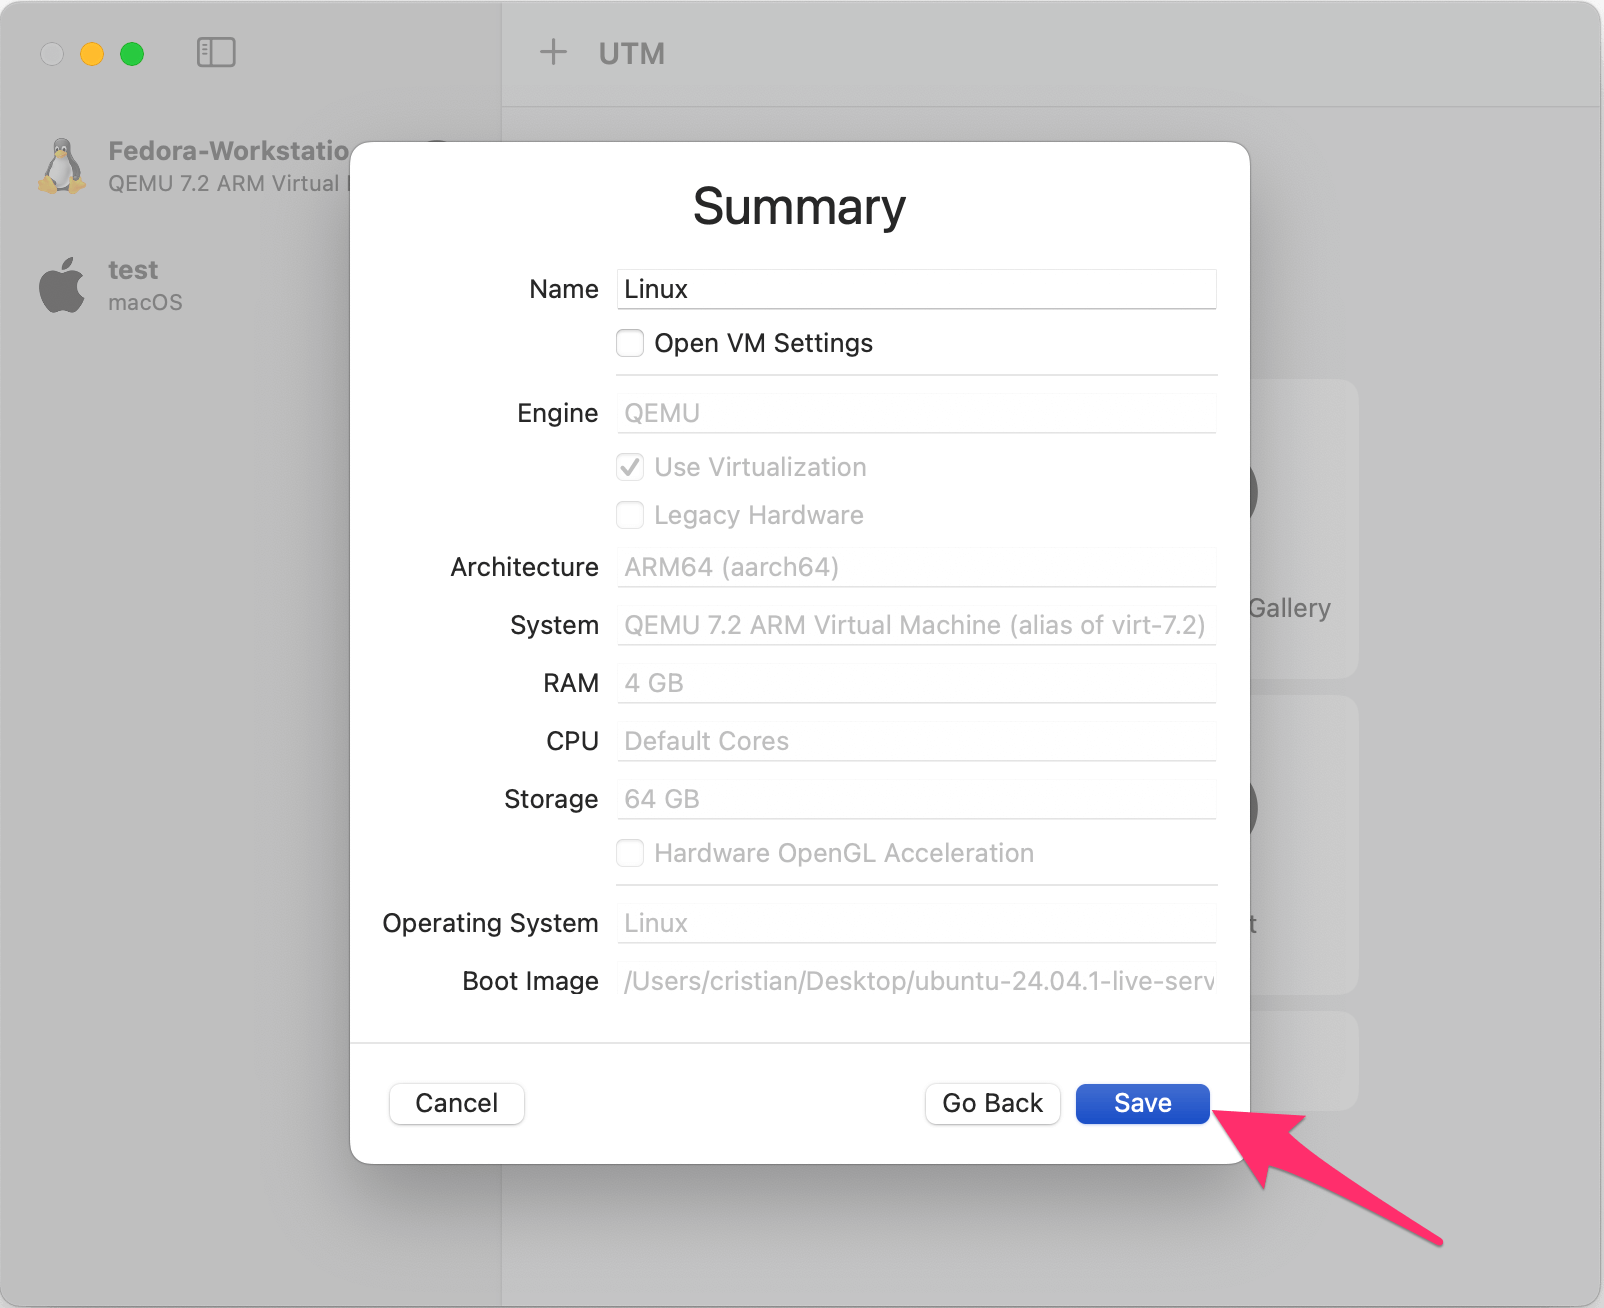
Fast forward the next few prompts, we’re happy with the defaults for "Hardware", "Storage", and "Shared Directory". You’ll now be presented with a "Summary" page:
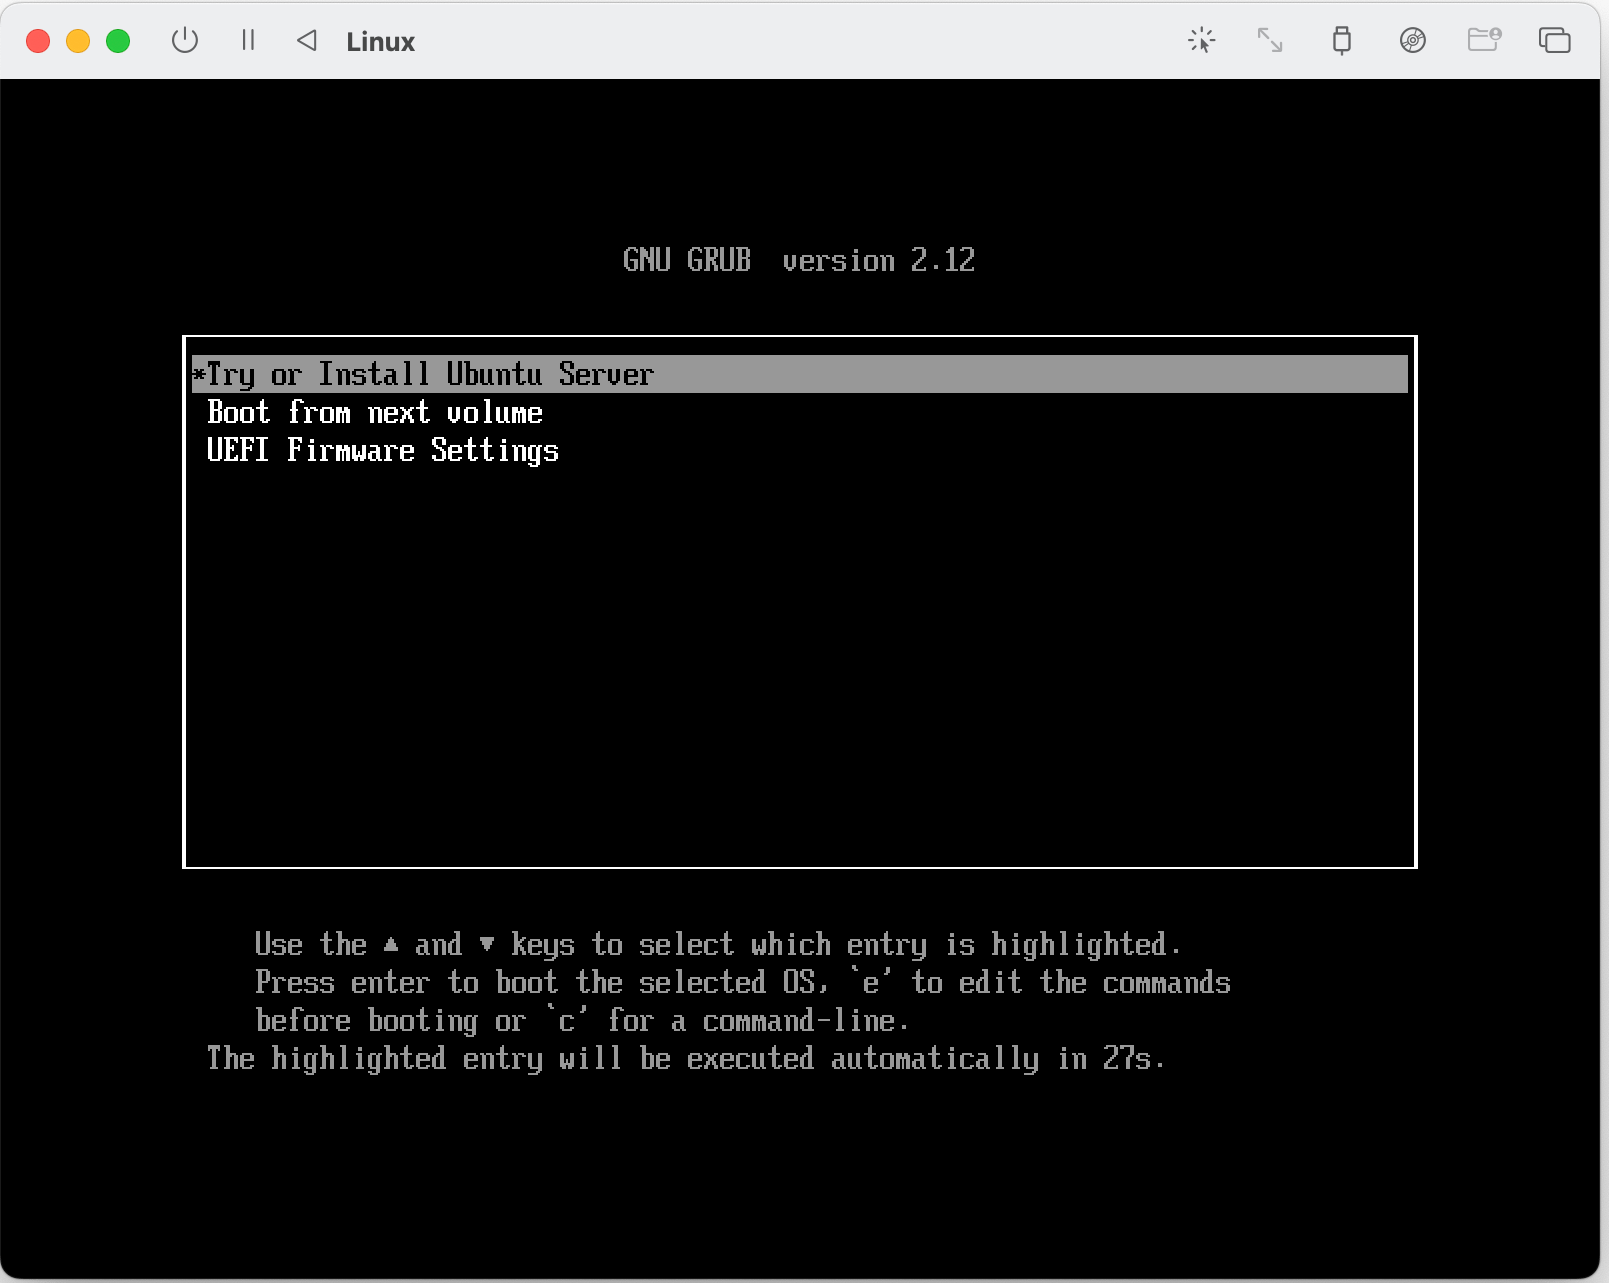
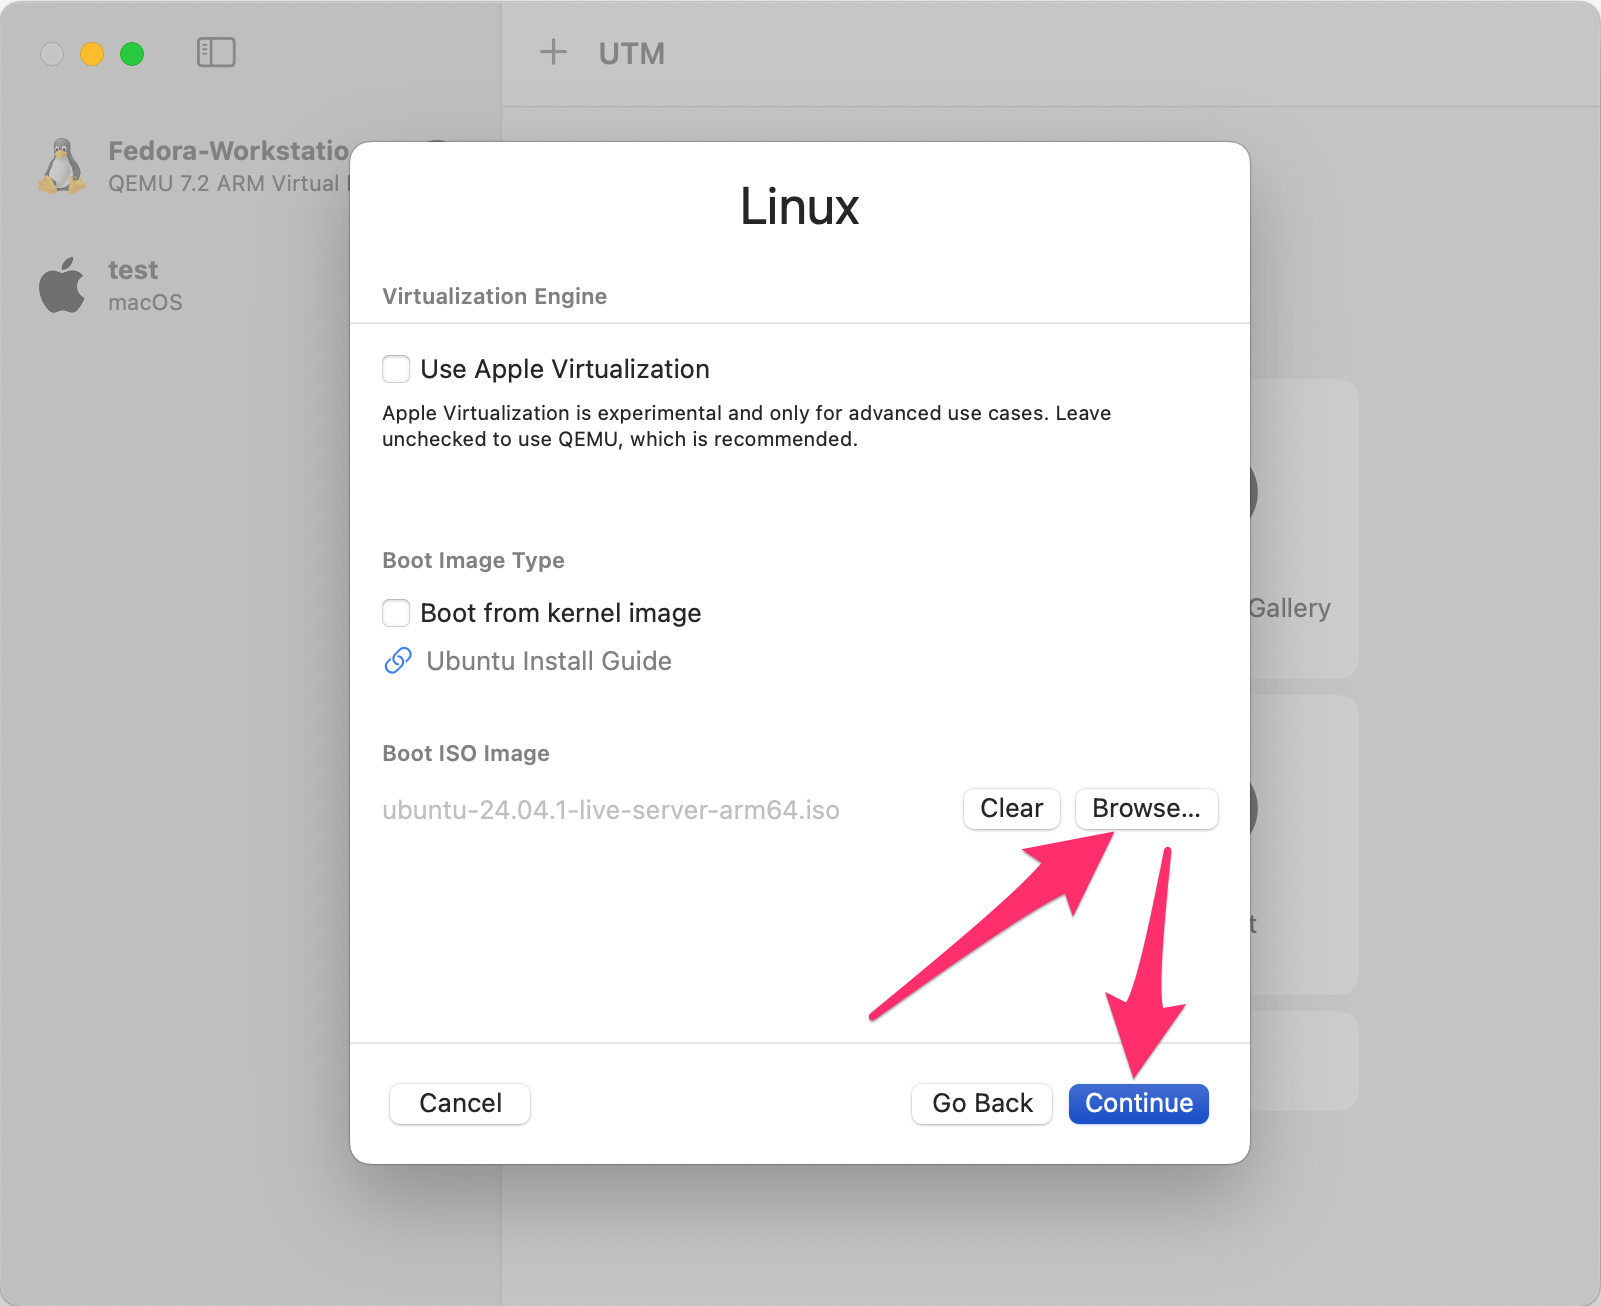
Proceed through the prompts: Select your language. You don’t need to update the installer. Select your keyboard layout. Select "Ubuntu Server" as the base, there is no need to search for third-party drivers. The default network interface is fine as UTM creates a bridge network for the VM, meaning it’ll use your host network. No proxy address is required. The default mirror address is fine. Select to use the entire disk.

Proceed through the prompts: Don’t enable Ubuntu Pro. Don’t install OpenSSH server (we’ll install it later). Don’t install any Snap packages. Click "Reboot now".
|
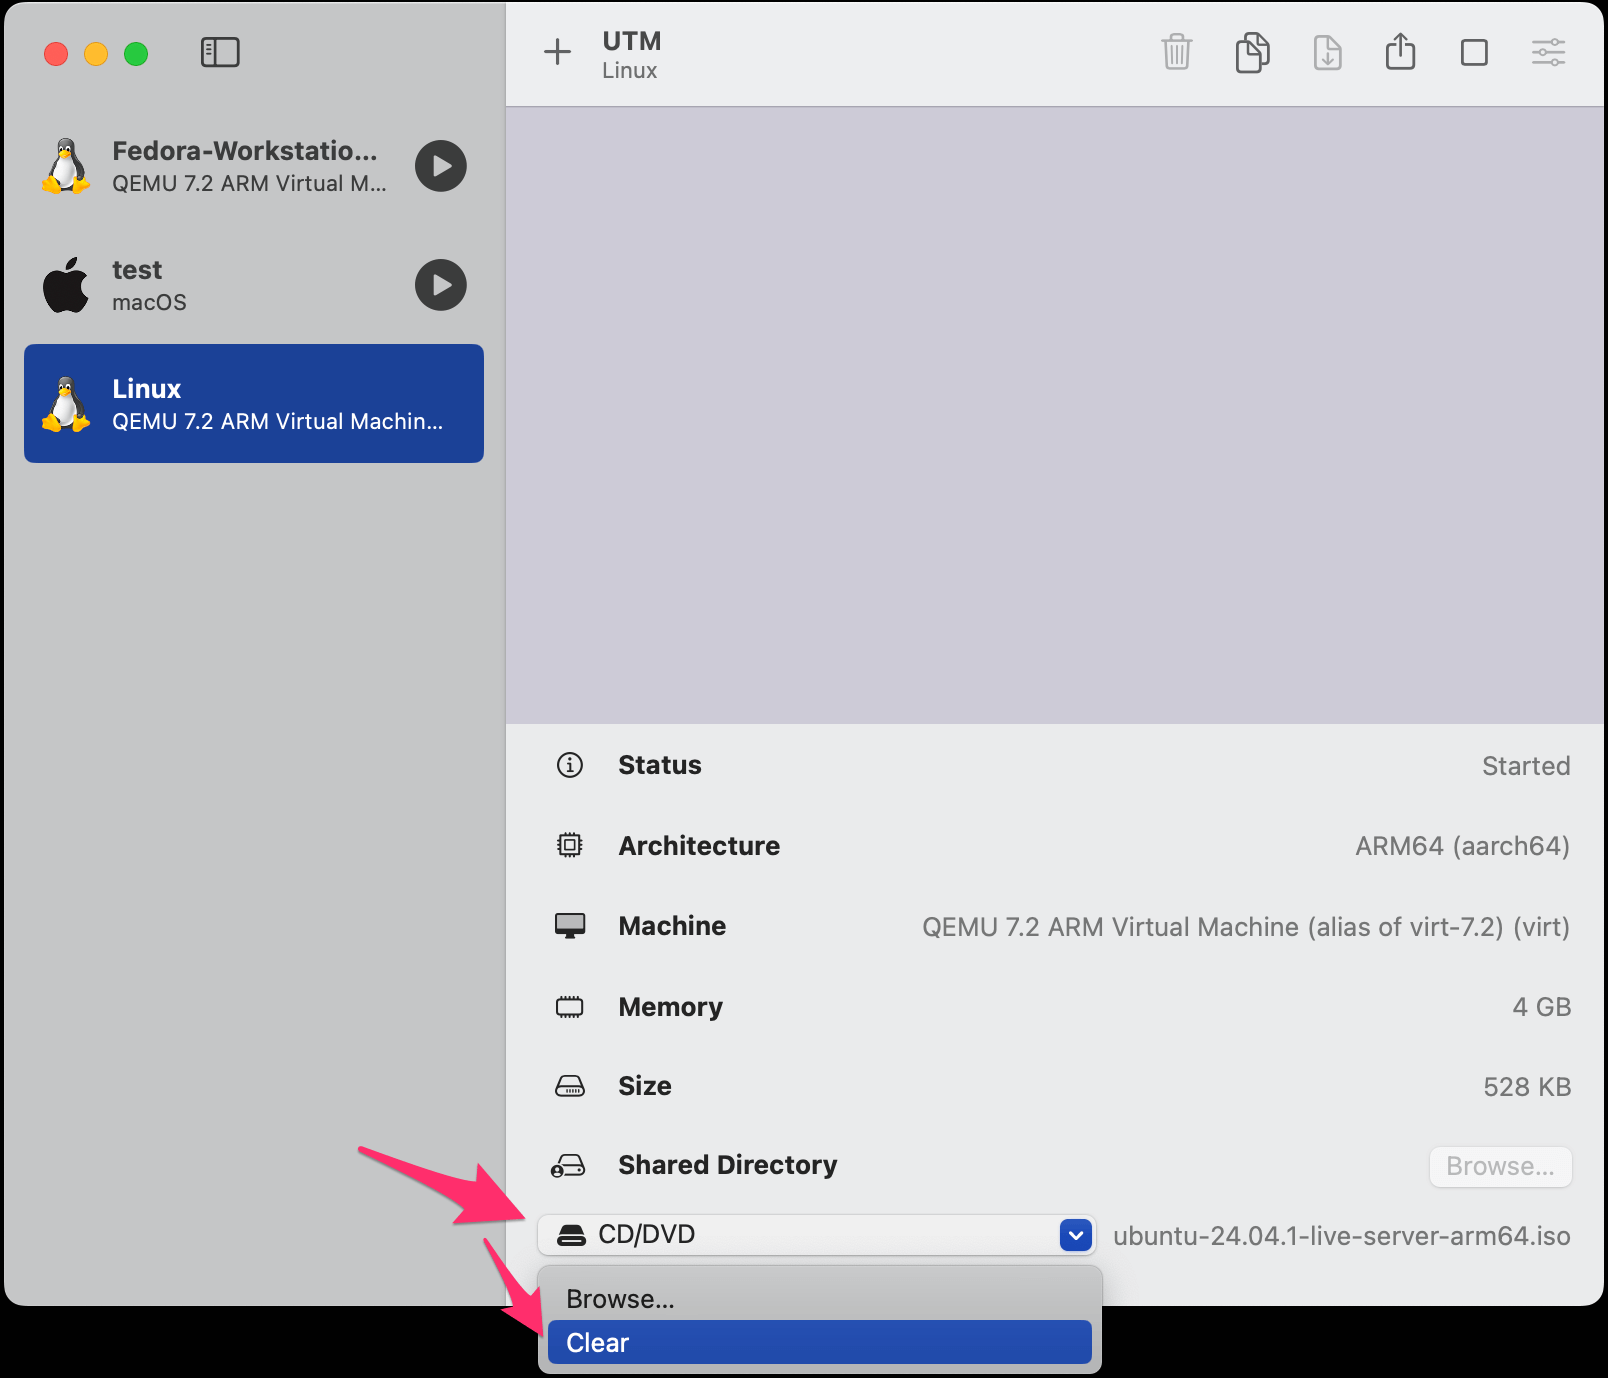
The VM may not reboot as expected as the ISO is still mounted (the VM thinks a Ubuntu installation disk is inserted and boots into that). Continue with the next steps. |

Configure SSH
At the moment we’ve been interacting with our VM via UTM’s GUI console. The next step is to setup SSH so we can connect to the VM and manage it from our local machine. Ansible will also use this SSH connection to setup the VM.
On the VM, install OpenSSH server, which will let us connect to it from our local machine:
sudo apt install -y openssh-serverUpdate the SSH daemon configuration to enable public key authentication:
sudo nano /etc/ssh/sshd_configUncomment the line:
- #PubkeyAuthentication yes
+ PubkeyAuthentication yes
Restart the SSH server to apply the changes:
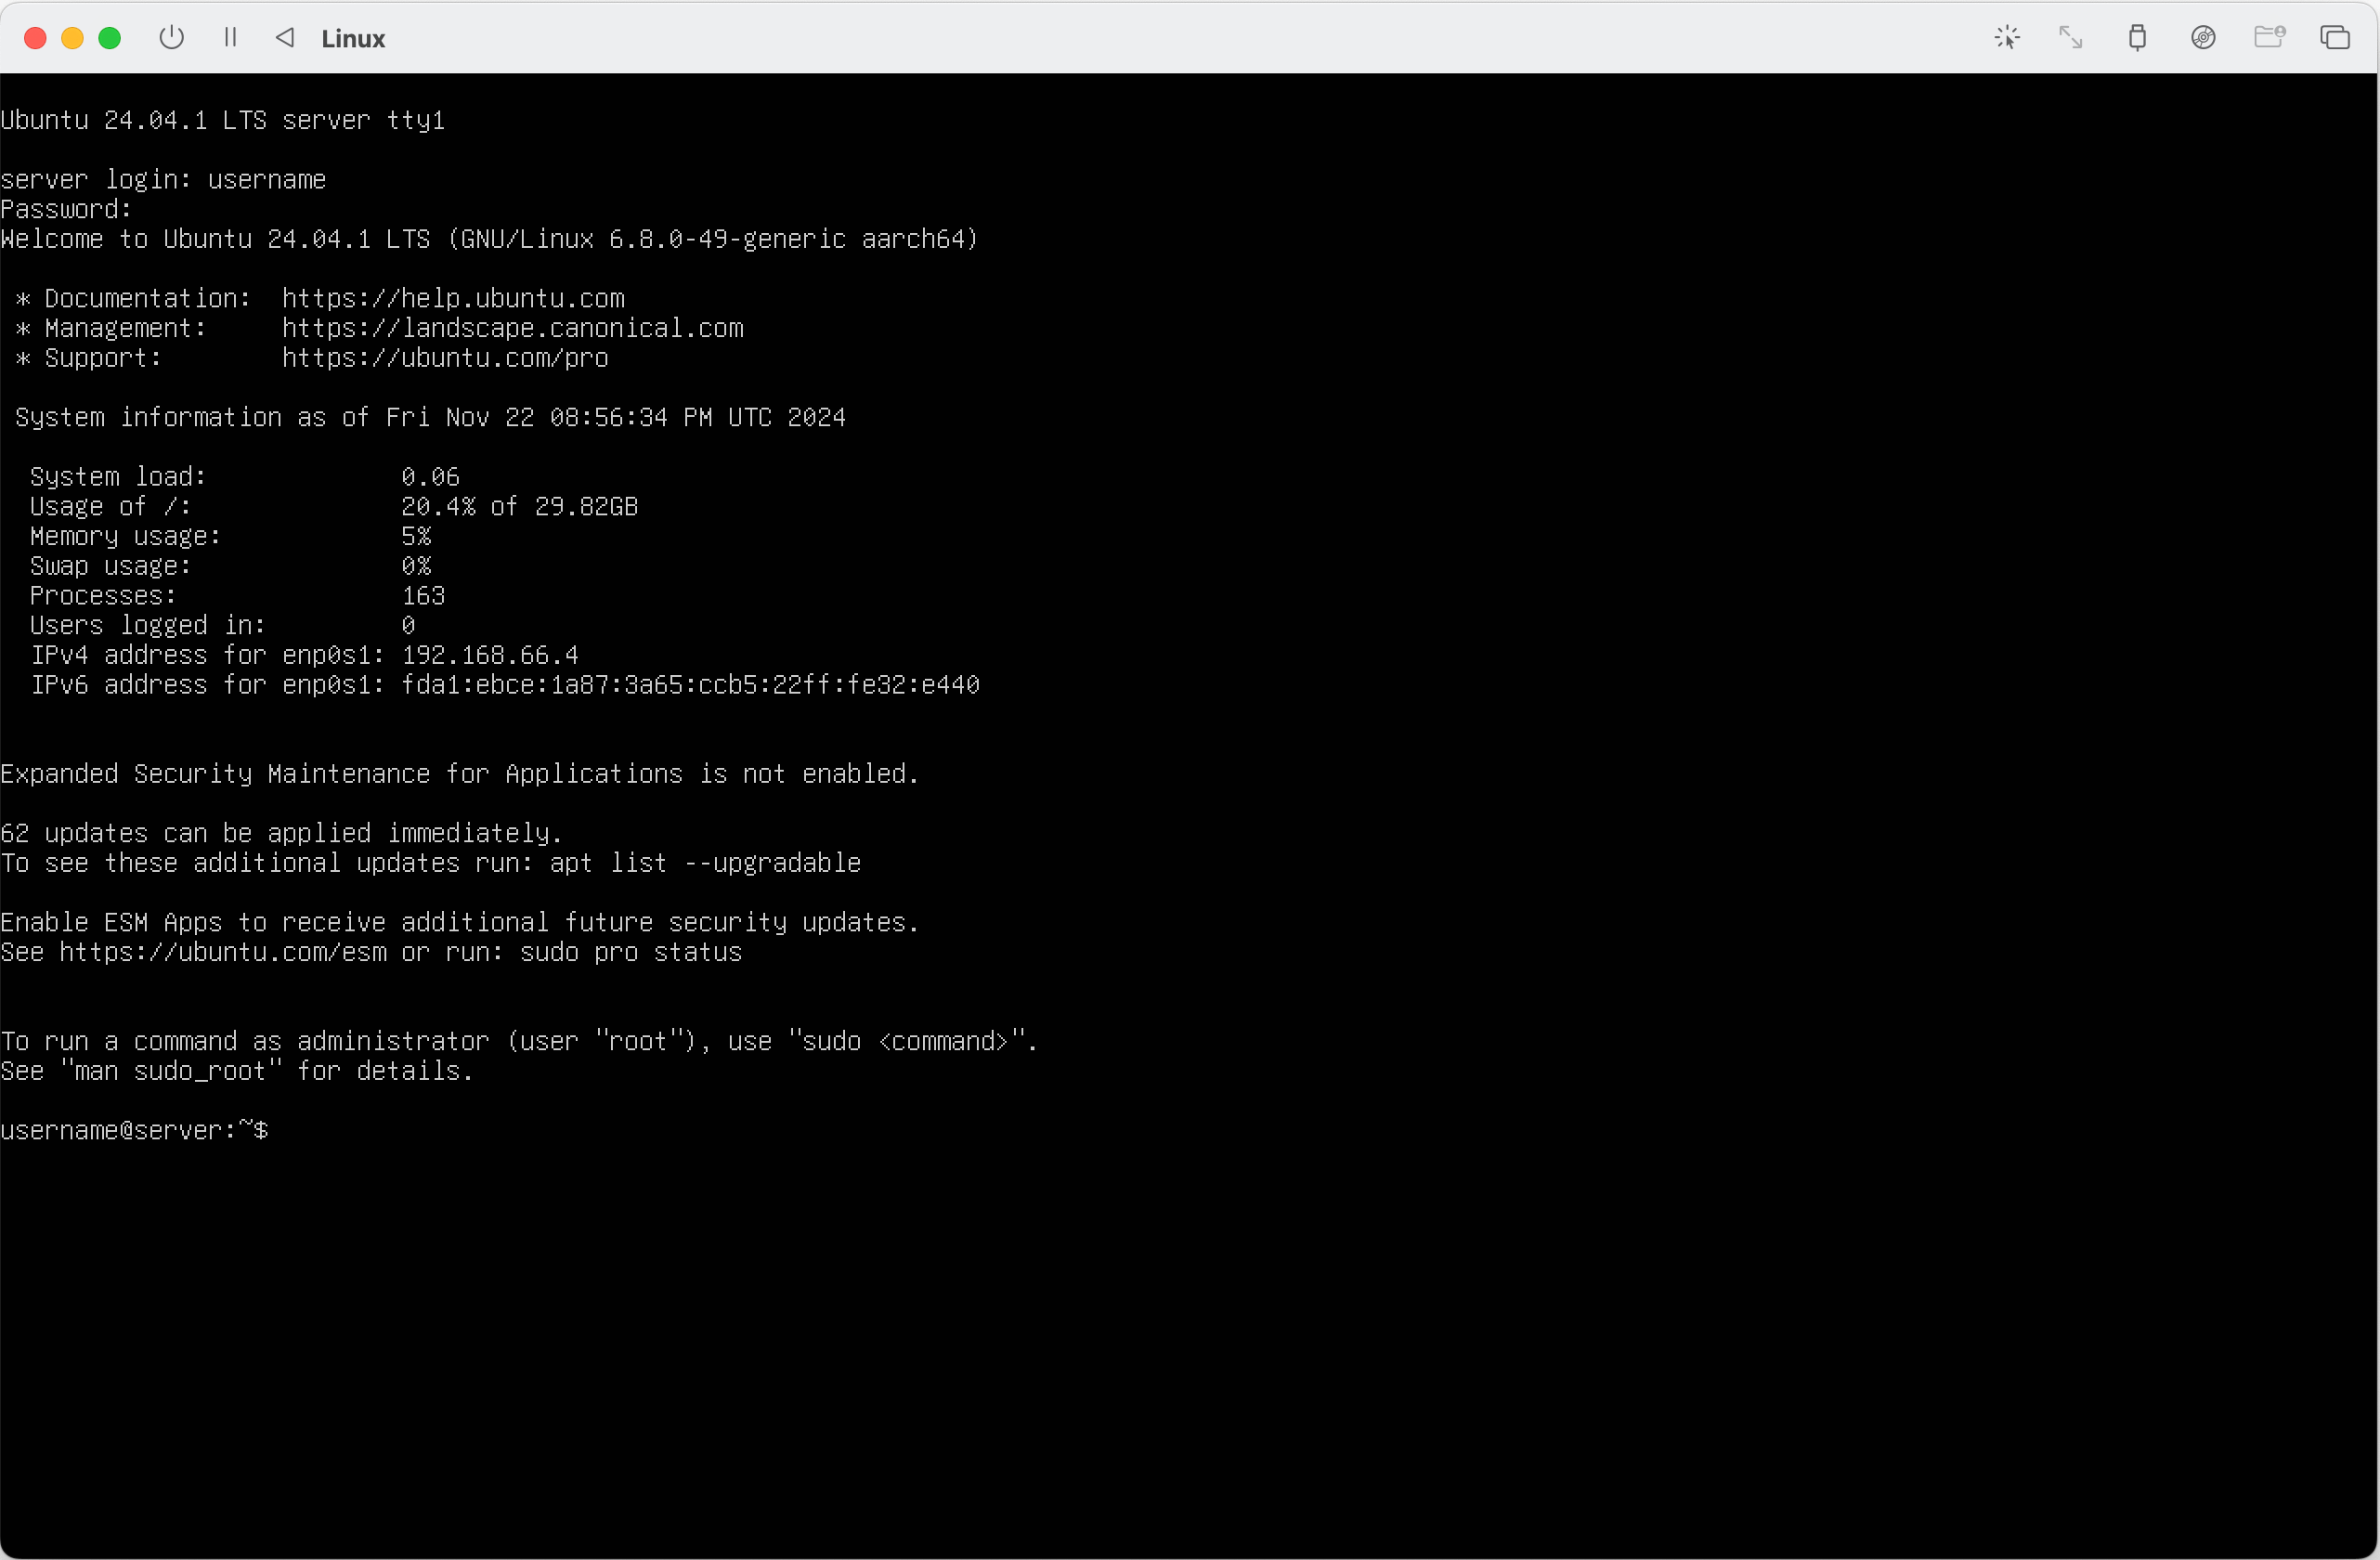
sudo service ssh restartGet the IP address of the VM:
ip address show (1)| 1 | ip a for short. |
You should see output like:
1: lo: <LOOPBACK,UP,LOWER_UP> mtu 65536 qdisc noqueue state UNKNOWN group default qlen 1000
    link/loopback 00:00:00:00:00:00 brd 00:00:00:00:00:00
    inet 127.0.0.1/8 scope host lo
       valid_lft forever preferred_lft forever
    inet6 ::1/128 scope host noprefixroute
       valid_lft forever preferred_lft forever
2: enp0s1: <BROADCAST,MULTICAST,UP,LOWER_UP> mtu 1500 qdisc pfifo_fast state UP group default qlen 1000
    link/ether ce:b5:22:32:e4:40 brd ff:ff:ff:ff:ff:ff
    inet 192.168.66.4/24 metric 100 brd 192.168.66.255 scope global dynamic enp0s1
       valid_lft 84598sec preferred_lft 84598sec
    inet6 fda1:ebce:1a87:3a65:ccb5:22ff:fe32:e440/64 scope global dynamic mngtmpaddr noprefixroute
       valid_lft 2591917sec preferred_lft 604717sec
    inet6 fe80::ccb5:22ff:fe32:e440/64 scope link
       valid_lft forever preferred_lft forever
We can ignore the loopback interface (lo). We see for the enp0s1 interface that the IP address is 192.168.66.4. Make a note, we will use it later.
Let’s switch back to our local machine and generate a new SSH key:
ssh-keygen -t rsaThis will generate a private and public key combination in ~/.ssh using RSA encryption. The id_rsa file is your private key, never share it with anyone. The id_rsa.pub is your public key which you are free to share.
Run the following command to copy your public key to the VM:
ssh-copy-id username@remotehost (1)| 1 | Replace username with the username you created when setting up the VM, and replace remotehost with the IP address from above. |
Set the correct file permissions on the authorized_keys file:
chmod 600 ~/.ssh/authorized_keysYou can now login to your VM from your local machine with SSH! Give it a go:
ssh username@remotehostPre-requisites
There are four pre-requisites to complete before we run a single command to go from zero to a fully functioning, Flux-enabled Kubernetes cluster. If you followed the (Optional) Creating a VM section, 3/4 are already complete.
-
A GitHub personal access token, needed for Flux bootstrap. Instructions on how to create one here.
-
A server running Ubuntu server >= 24.04.
-
SSH public key authentication set up between the server and your local machine.
-
Ansible installed on your local machine:
-
Install
pipxMacOS:brew install pipxLinux:sudo apt install pipx -
Install
ansiblepipx install --include-deps ansible (1)1 Follow the output for instructions on how to add Ansible to your PATH.
-
Configure the Ansible Project
Clone the Ansible repository:
git clone https://github.com/cristianrgreco/home-server-ansible-setup.git|
I’d highly recommend familiarising yourself with the the code. Ansible is simple yet powerful, and useful for automating tasks, both personally and professionally. You could for example imagine creating an Ansible project which sets up your machine with the way you like to work. |
Let’s make some changes to tailor the set-up to our needs:
.inventory.yml:all:
hosts:
pi: (1)
ansible_host: 192.168.0.234 (2)| 1 | Give your server a name. |
| 2 | Change the IP address to the IP of your server. |
.playbook.yml- name: home-server
hosts: pi (1)
vars:
cluster: production
github_user: cristianrgreco (2)
repository: home-server-flux-setup (3)
vars_prompt:
- name: github_token
prompt: Enter the GitHub token for Flux to bootstrap the cluster
private: yes
roles:
- microk8s
- kubeseal
- flux
- k9s| 1 | This should match the server you defined in the inventory.yml above. |
| 2 | Change this to your GitHub username. |
| 3 | This is the repository Flux will use to store the cluster configuration. |
roles/kubeseal/defaults/main.yml:kubeseal_version: '0.27.1'
kubeseal_arch: arm64 (1)| 1 | Update the architecture to match your server. |
roles/k9s/defaults/main.yml:k9s_version: '0.32.5'
k9s_arch: arm64 (1)| 1 | Update the architecture to match your server. |
Running Ansible
We’re ready! Let’s run the Ansible playbook:
cd home-server-ansible-setup

ansible-playbook \
  -i inventory.yml playbook.yml \
  -u <username> \ (1)
-K (2)| 1 | Set the username to the username you login as. |
| 2 | The -K flag tells Ansible that you will provide the BECOME password. This is the password of the user you login as. This is needed because Ansible will need elevated privileges to install and configure some packages. |
You will be prompted for your GitHub access token when running the command. Paste it and press Enter.
A couple of minutes later and, that’s it! You now have a functioning Kubernetes cluster. SSH onto your box and have a look around. Run kubectl get pods -A to see all the pods:
NAMESPACE     NAME                                       READY   STATUS    RESTARTS   AGE
flux-system   helm-controller-7f788c795c-5qzh6           1/1     Running   0          7m40s
flux-system   kustomize-controller-b4f45fff6-gvw6n       1/1     Running   0          7m40s
flux-system   notification-controller-556b8867f8-wl4t5   1/1     Running   0          7m40s
flux-system   source-controller-77d6cd56c9-57f6b         1/1     Running   0          7m40s
kube-system   calico-kube-controllers-759cd8b574-z7ljw   1/1     Running   0          33m
kube-system   calico-node-p6pbh                          1/1     Running   0          33m
kube-system   coredns-7896dbf49-mgwcg                    1/1     Running   0          33m
kube-system   hostpath-provisioner-5fbc49d86c-4sllx      1/1     Running   0          30m
kube-system   metrics-server-d6f74bb9f-tg944             1/1     Running   0          30m
Run microk8s status to get some cluster information:
microk8s is running
high-availability: no
  datastore master nodes: 127.0.0.1:19001
  datastore standby nodes: none
Flux will have created a repository in your GitHub account. Clone it down and have a look around. Soon we will use it for deploying apps and cluster configuration.
On the server you can run flux events to see what Flux is up to:
LAST SEEN               TYPE    REASON                  OBJECT                          MESSAGE
18s (x10 over 9m29s)    Normal  GitOperationSucceeded   GitRepository/flux-system       no changes since last reconcilation: observed revision 'main@sha1:67a799a1cfc7b68ed4c766af0294dab77befcab8'
7s                      Normal  ReconciliationSucceeded Kustomization/flux-system       Reconciliation finished in 466.105421ms, next run in 10m0s
We’ve also installed some other goodies that will make interacting with and deploying apps to the cluster easier:
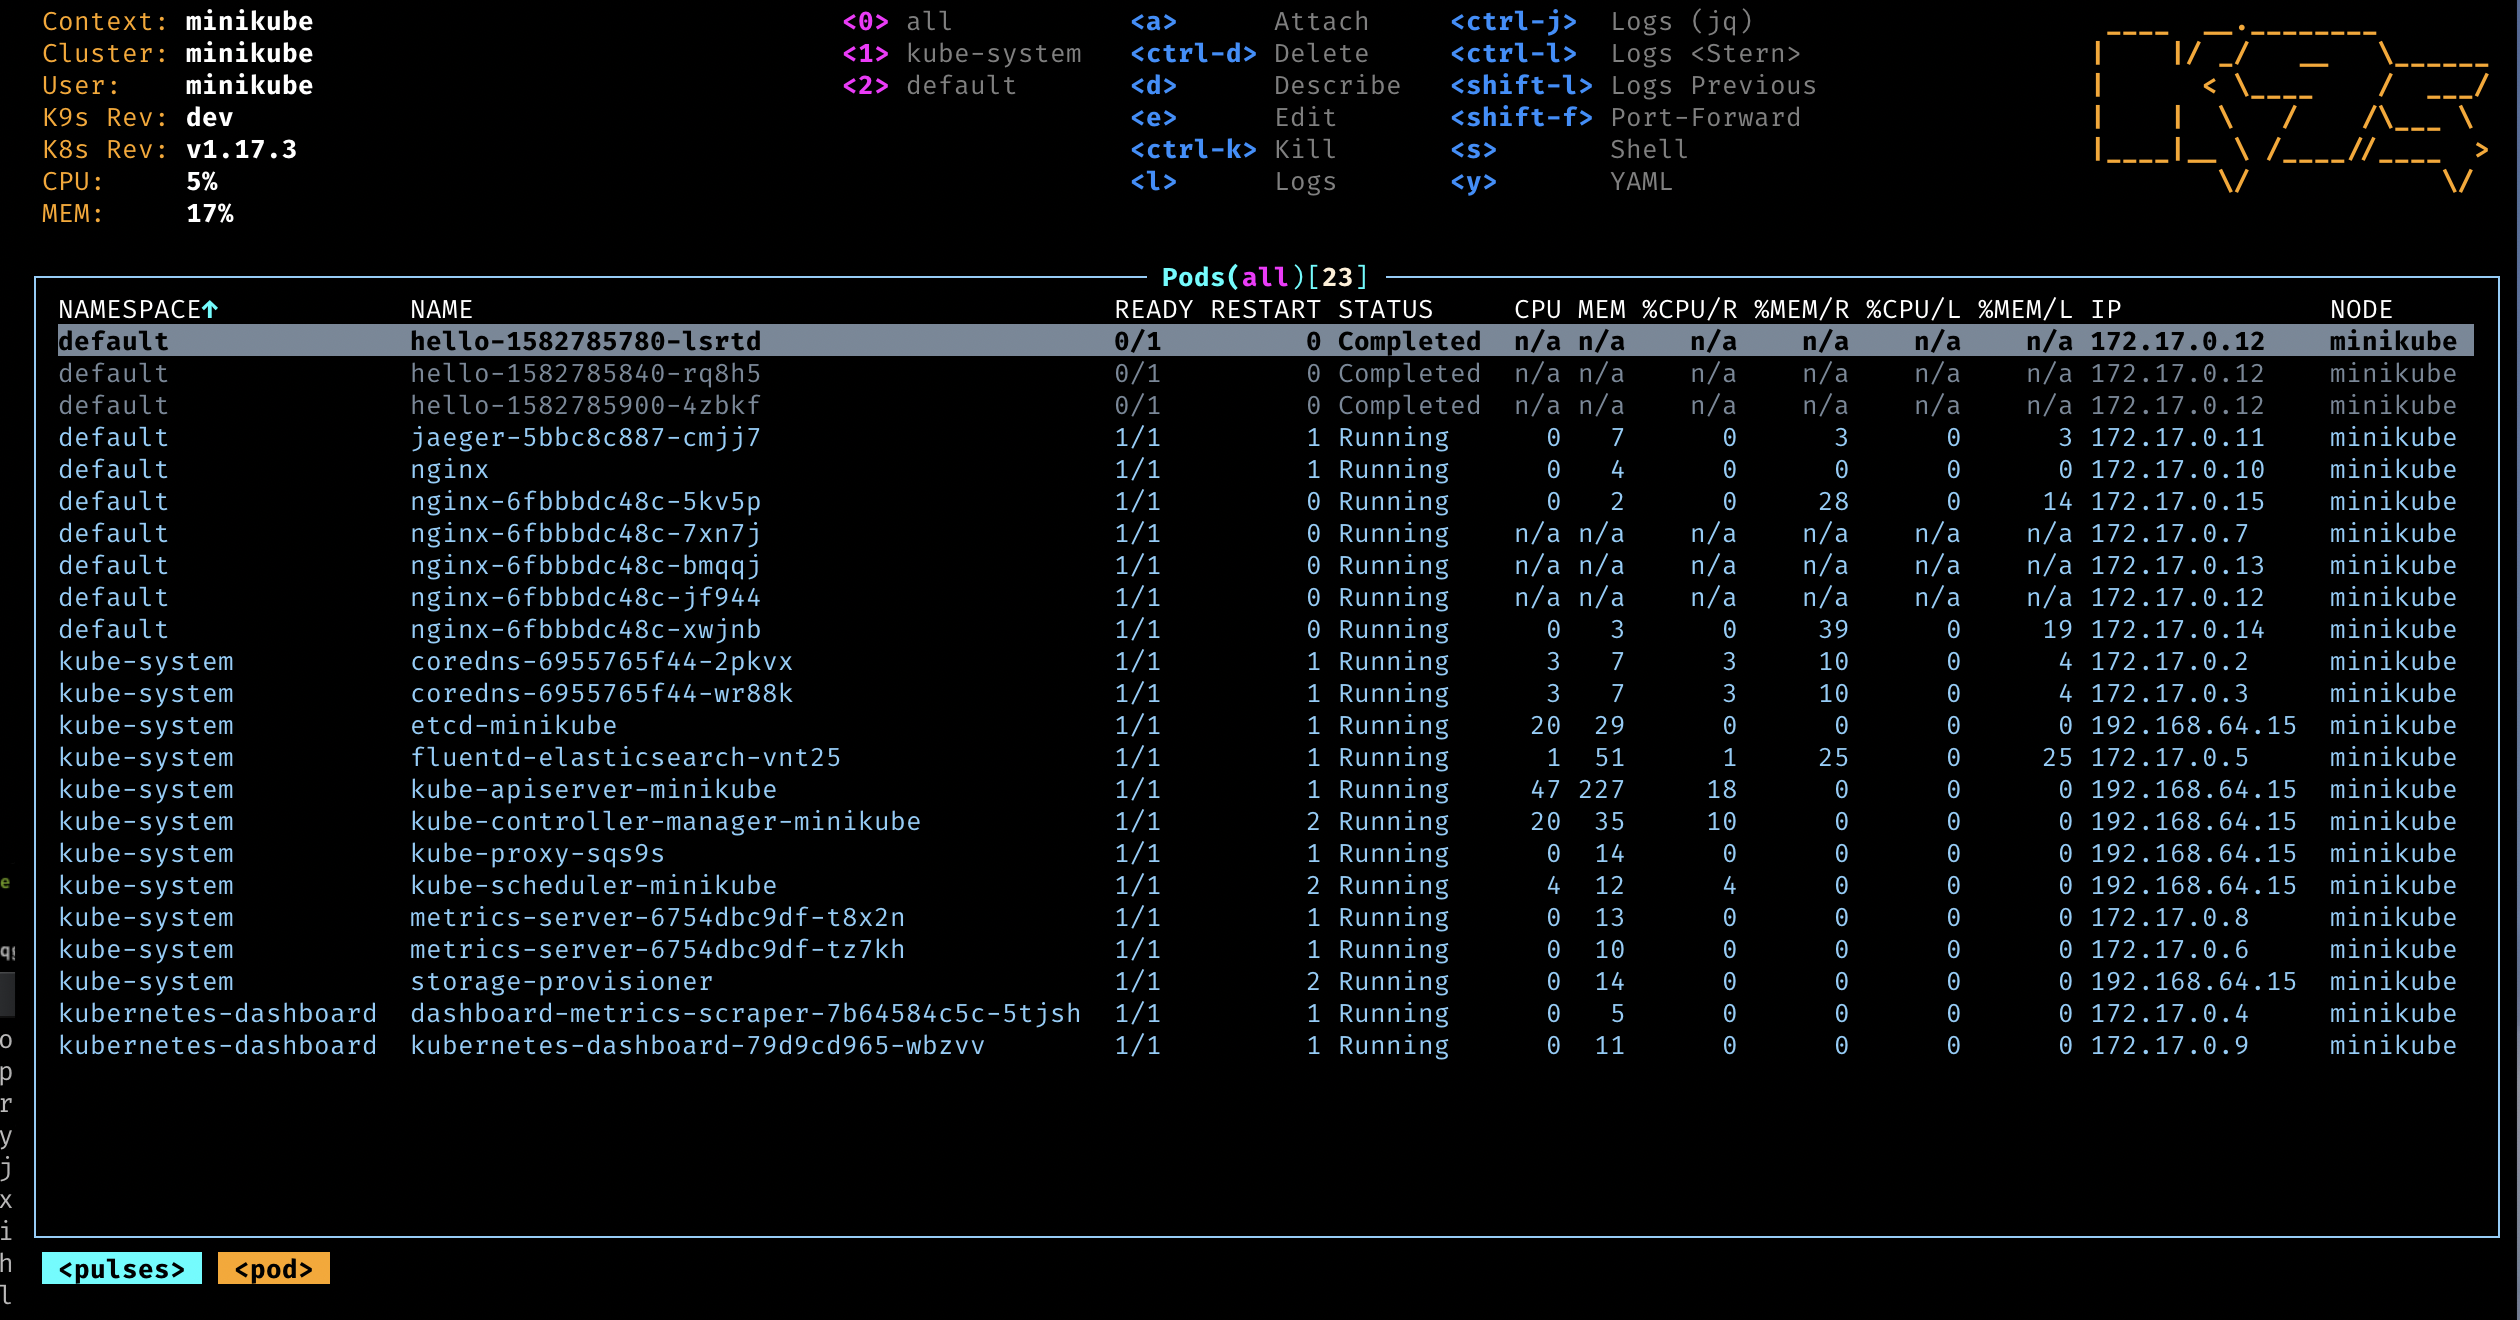
-
k9s: a Terminal GUI to interact with your cluster. It looks like this:
-
Kubeseal: lets you encrypt secrets needed by your Kubernetes cluster at rest, meaning we can store usernames/passwords in your GitHub repository without fear of them being exposed. For example:
apiVersion: bitnami.com/v1alpha1 kind: SealedSecret metadata: name: grafana-adminuser-creds namespace: observability spec: encryptedData: adminUser: AgAqVMtI4V44nIv/254IhQMsbNL4imM92ChTYmD/kqSllLUzvEdVmMXFv8jeUoYDTPLj2LUk0K2UMgnZM+86nXsGYibNvWPS64IpVlF7sNGRjD/shXWc8fdQq842Q8K32trNPpfqr/E2eVs/H3CwVdzGKXZKMkYhI98Jb+qPeXwQtp1MBEkR025G5OQxsol6SO7sVhtHQiVos4cfuBWZSOpydQ2YBXYF6HDkG25TTXj7DKj45wWWy0aOchVnkDmT4RfMCsuMaLzKIDtuNrHIBN268iOhbaqNHAxSOaKstOC9vrifTzBnJV6W3ujMAMQyWDXU+6R1rXS69c5cZ2EaZjM5NfdaxUjOXxqzhXQtT4NkgB2JH7Zn7vyrfIS17s0k/JhjbNB0jSD8PoNxAaRfGJz6YsuIV74tANsPFQnnff/WJ3NOHlr2JqvxmFZFgEaLZy1QLaOMrvyes73XlHuaThkHjFD9CGgEgnjQNjxSMHSJOmSxwlfwoeWqy6WCd1IB9Dk21s3Aiwtr06KG2taAZ6lm7uYZA7afS5yYYJPrv+tNwPHC6LrdtZR0HJgApVloLCx4i4ZtD86+hVPP9FTws7q628nJiYB1SNxUGijzMrfFkAa6klhLRQVRC3dVsYS25W490tT/0JeqqfxKwERPEerMjH3vXVXYWFVMMU5Q2Ek4djH3baG14Bttua+IxBgkh3RYoRcB4g== adminPassword: AgA0Uai+Fw4uzf4MrGjj2J4WZvAu23wHa9n40s//615cyPPKoD9r2MYF5RPH0qTOzly03YuQ7PQDvmS922JdA0noK2Qyl6nvNUU5PtukG/uFRgjf4e0knjO1gHorcp/ODBNyO0VYBclBg/gjsUmFfUs/B+mKQ+4GMroVxW4qr7OQM9JgCoO0w5RdRl34o5t/15cNwi4NfdeSlxIW9tlzfzBv2EUEziOSrePcdHDv+wWlISUskG2/a8G0fkuDvL27TOJuGw6NGXPOjbg1ayTBhPxpnwZXgk+meFhHS/i8ioT/wvHd6rnwC91p2QkSCc6/ofTFgqWEA/wVyZqiXu3zS7leehYw1AEl5rea02WEbpy2EOIK7f5Q0WEvEZNvaBWvMfGjz33xVb6dXuRXfonmUiI3PLuFPBn4oT5y9oHEBPDCD+EzNWpcHv/mFISGOsq6IdQct8WD0TvllXm2uluCYiddyqeQdKAHipA7b6PneApkwRhfaNy9diWBoSxdqmCE1CmZUvEqCaKD2OoYfUJe9aASwZv2WRU9zHGfdUBCUYqb5VP9CvT90QTZj3Om+Phn3jdMCGH6XpHcMuCidroecEk5d9Ej5bGo5aexD4AY/viD9DP/ILFcQi1B3bw2PAebYrOZGJvf/2gvOzH2HcODtUlhWfkqI69ctbA3vVjP9XNYA7yxd0h604H1bUw0mRKTM+Q1kuOLEkIp9ZRQVftkLW52DKhkdDg3R6hT8w0+IEFLLpsnM4rYqOiE8aF/y7CVIdGnVw== template: metadata: name: grafana-adminuser-creds namespace: observability -
MicroK8s host storage path addon: lets Kubernetes provision volumes using host storage. This is what mine looks like after having installed a few apps:
pi@pi:~$ ls -l /var/snap/microk8s/common/default-storage/

total 20
drwxrwxrwx 8 root root 4096 Aug  1 17:22 minecraft-minecraft-minecraft-datadir-pvc-e6ece37d-4ac8-490b-bdc9-15dc00494f71
drwxrwxrwx 6  472  472 4096 Nov 21 11:56 observability-kube-prometheus-stack-grafana-pvc-733435d4-3213-4066-a4a5-66515eba1868
drwxrwxrwx 6  472  472 4096 Aug  4 18:44 observability-storage-kube-prometheus-stack-grafana-0-pvc-ef2e16e4-3c14-4f31-9835-f2fe8627f71a
drwxrwxrwx 8 root root 4096 Aug  1 19:28 observability-storage-loki-0-pvc-16faaf73-69b0-45cd-b1f7-ec4eb90efea3
drwxrwxr-x 3  999 gpio 4096 Nov 21 11:56 pihole-pihole-pvc-3d1b2abd-d697-4797-acd2-beaf513e84f5
Next Steps
Our cluster is now ready to work with. In the next post we’ll talk about why and how we use Flux, and introduce some best practices around DevOps and GitOps.